Sometimes you might need to replace incorrect RFID labels in a shipment. This will require adjustment to the load configuration, deleting some labels, moving others around. This might be easier for some in the Container Browser because it better depicts the hierarchical nature of the data. But it is a good way to show how the Tag Browser works.
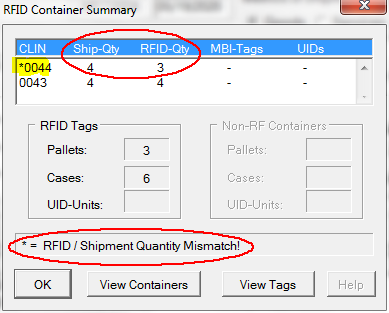
Let's say you discovered that your RFID-tagged quantity (3) of CLIN 0044 was less than the quantity to ship (4) on your DD250 (as created in Shipper), as shown at right.
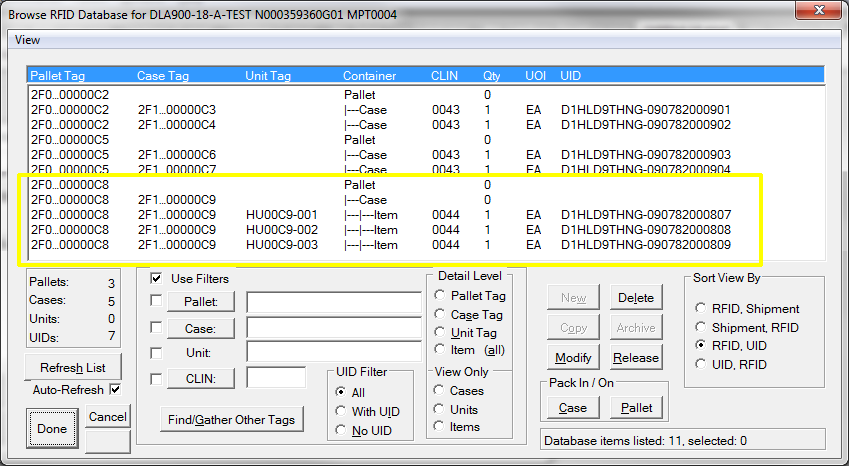
Clicking on [ View Tags ] then drilling down into Pallet 2F0..00C8 and then into Case 2F0..00C9, we discover that only three of the UID items were labeled, and all three ended up in the same case (highlighted in yellow at left).
Two new CLIN 0044 case labels will need to be printed, with two containers of two each. Then the bad case will need to be removed from the pallet and replaced with the two new cases.
Step 1: Use Filters to Delete Case
There are two ways to delete Case 2F1...000C9. One is to simply select all of the lines with 2F1...000C9 in the Case Tag column, then Rt-Clk Delete (or [ Delete ]).
The other method is to use the filters to isolate the case. Do this by selecting the Case record or any item in it. Then click the [ Case ] filter button.
Notice that the Case ID has been inserted into the Case Filter and the display has been reduced to just Case 2F1...000C9 and its contents. Now, you can select all of the records shown and [ Delete ] (or Rt-Clk & Delete).
At this point the display will be blank because the Case Filter is still enabled. Remove the check-mark next to [ Case ] and the display will the remaining shipment records.
It doesn't matter which method you use, however, using the filters is a safe and easy way to isolate and operate on just the records you intend to, especially if you have lots of cases with lots of UID items. Or pallets with lots of cases.
Step 2: Print the Case Labels
Close the Tag Browser, and return to the shipment in Labeling. Print the two cases, then return to the Tag Browser.
Step 3: Place Cases on Pallet
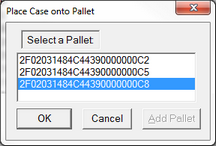
After printing the new case labels, they appear in Tag Browser as as Cases 2F1...000E7 and 2F1...000E8. Place the first case on the pallet by select all three records (case and items in the red box), then doing a Rt-Click & Stack on Pallet. A list of shipment pallets will pop up, from which 2F0...000C8 would be selected. This will change the case's Pallet Tag ID and move it under the pallet. The items will remain.
Stack the second case by selecting the three 2F1...000E8 records (in the green box), then doing doing a Rt-Click & Stack on Pallet.
The last pallet used (2F0...000C8) will be preselected, so you just need to click [ Ok ]. This will change the case's Pallet Tag ID and move it under the pallet. The items will remain.
For both of these operations the Pack In / On [ Pallet ] button works the same as using the Rt-Clk menu.
The Tag Browser does not change the item records to reflect that they are on a pallet. This is just a shortcoming of the way they are displayed. Their Case Tags are correct, and those cases are on the correct pallet. You can click [ Refresh List ] to see that. The cases are on the pallet, and the items are in the cases. The Container Browser does a better job of displaying this, but is not as quick to use for large numbers of items.
See Also:
Reorganizing Cases - to see how the Container Browser does the thing using its tree format.


