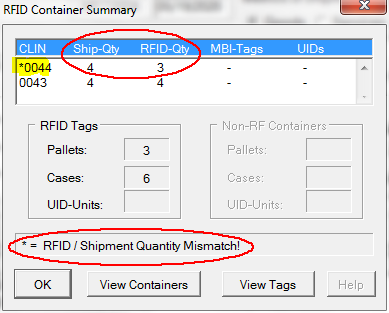
Let's walk through a more complicated example of manipulating RFID data that demonstrates several useful techniques. Let say you discover that one of the UIDs defined in the shipment is missing, something that MIL-Comply will complain about as it prepares to send RFID data to WAWF. This can be confirmed by viewing the RFID Container Summary, which comes up when you open RFID Manager, or browse RFID data from Shipper, Labeling or Contract Manager.
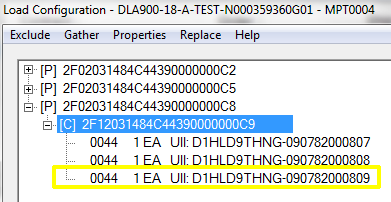
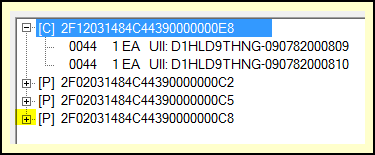
From there you may choose to use the Tag Browser, which has a CLIN filter that will show you the containers with CLIN 0044 items in them. Instead, we will use the more visual Container Browser, which shows that one of the Cases has three CLIN 0044 items in it (below).
We got here by clicking on [ View Containers ] which started off showing a list of the pallets. Then the pallet known to have the incorrect items was expanded by clicking on its [+] mark. There we find only one case (the shipment called for two). Opening up that case (at left) we find three UIDs in it.
It's actually really hard to make this kind of mistake in Labeling, but it serves as a good example of how to fix up a shipment when things go awry.
The Solution
The CLIN 0044 case labels will need to be reprinted with two containers of two each. Then the RFID data will need to be corrected to remove the bad case from the pallet and replace it with the two new ones. The first step is to the bad Case, which is already selected, above. Rt-Clk & Delete (or use the [ Delete ] button. We use Delete instead of Remove because the label is going to be destroyed.
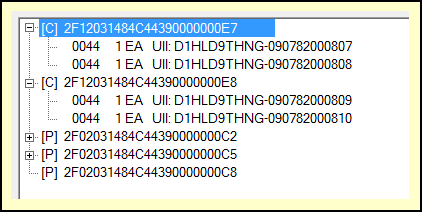
After printing the new labels, and returning to the Container Browser, we see the two new Cases, which have been expanded to show that each as two UID items. The pallet (2F0...000C8) is empty (which we know because it lacks a [+] mark).
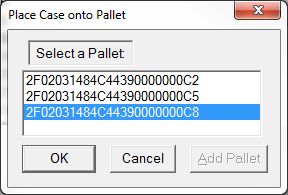
Put Case 2F1...000E7 on the now empty pallet. It is already selected, so Rt-Clk & Put on a Pallet (or use the Pack Onto [ Pallet ] button). A list of available pallets will pop up.
Select the empty pallet. The selected Case will disappear, leaving the other one to be palletized.
Actually, the case didn't disappear, it is reflected by the [+] now showing on Pallet 2F0...000C8.
Now we just need to stack Case 2F1...000E8, which is already highlighted (at right). Do this with Rt-Clk & Same Pallet (000C8), or use the Pack Onto [ Same ] button. Or you could have picked the pallet over again.
After deleting, printing and stacking, the result is as follows, ignoring the other two pallets, because they were fine!
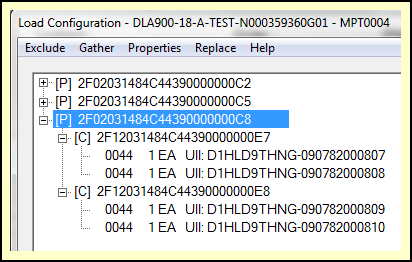
Fixed up Shipment
See Also:
Reorganizing Cases - to see how the same operation is performed in the Tag Browser
