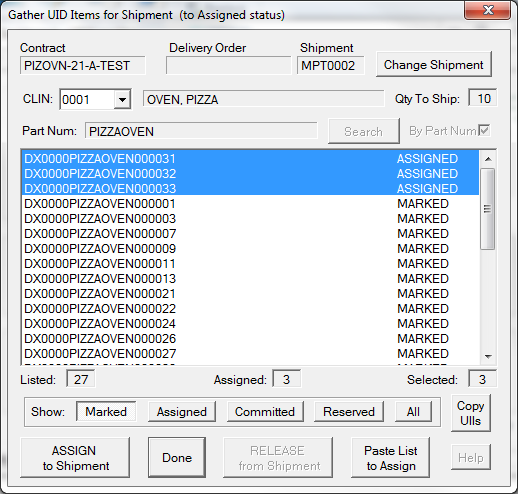
The Gather Unassigned UIDs process will assign UID end-items that you select from the list to the Contract, Order, Shipment and CLIN displayed. Their status will be set to either COMMITTED or ASSIGNED, depending on your UID Operations Configuration. If assigned end-items have children, all of the members of their family tree will be so assigned. The illustration at right shows three items that have already be assigned to the shipment during a prior session.
The process will display all of the eligible items whose part number matches that defined for the contract line item (CLIN). After selecting the desired items click [ASSIGN to Shipment]. This will change the status of the items to COMMITTED or ASSIGNED, as discussed above. At that point they will become visible to the WAWF DD250 and container labeling processes. You can also double-click on them individually.
Releasing Items from Shipment
Items may be gathered in multiple passes. Previously gathered UIDs will show as COMMITTED/ASSIGNED. They may be removed from the shipment by selecting and using [Release from Shipment], which returns them to MARKED status. Use the [Assigned] or [Committed] filter button to activate this feature.
Alternate Methods of Gathering
There are two other methods of gathering, discussed below:
•Scanning UIDs with a 2D scanner
•Pasting a list of UIIs from your clipboard.
Part Number Filter
The shipment CLIN's part number is used by default to filtered unassigned UIDs, reducing that population to just those with the part number in the UID record. This works both for Construct 2 and Construct 1 UIDs because it is looking at the UID record rather than parsing the UII itself. In the event that expected items are not appearing in the list the filter may be turned off by unchecking the By Part Num option.
Setting the Target Shipment
The contract item information is determined by the current shipment target, as selected in the Set Target Shipment when appropriate, such as when using the Dashboard's [Gather] function.
Handling Multiple CLINs
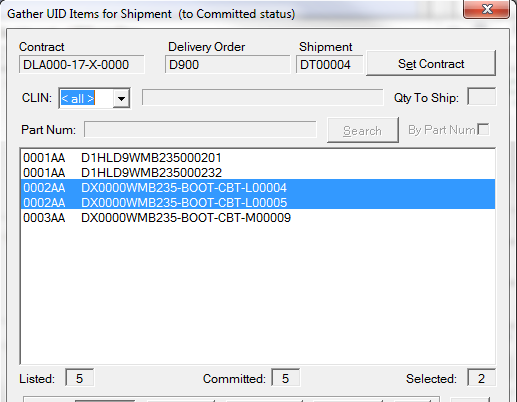
Shipment Summary
A summary view of the UIDs assigned to all shipment CLINs is available by selecting <all> in the CLIN drop-down list.
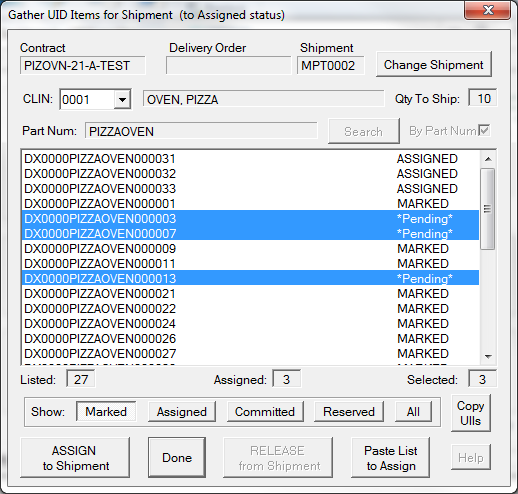
Selecting Items with a Scanner
A 2D UID scanner can be used to select items in the list to be assigned to the shipment. The process is practically the same, except that items are marked as *Pending* as they are scanned.
Successful scanning may require that the UID list be clicked on..
When finished selecting items click on [ASSIGN to Shipment]. Then click [Done] or select more. Any items that were inadvertently marked can be removed by using the release procedure after first Assigning to the shipment. You may also click Done while items are still Pending and choose not to assign them.
Pasting a Selection List from Clipboard
Another way to select items to be assigned is to copy them to your clipboard from a document, email, or other source. Then click [Paste List to Assign]. They can be one to a line, or separated by commas, spaces or tab characters.
Click on [ASSIGN to Shipment], then [Done] if finished.