Shipment Details
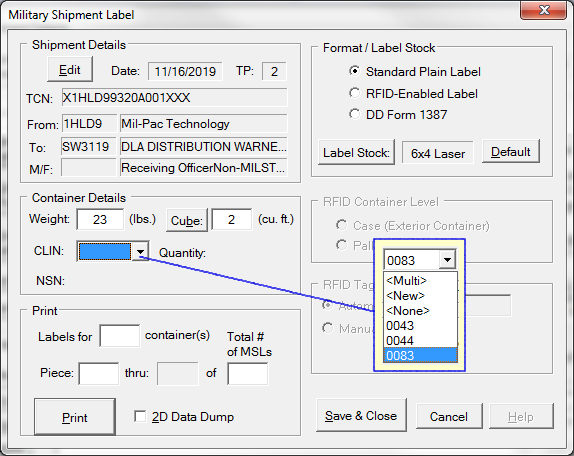
The addresses, TCN, priority, etc. Clicking on the [ Edit ] button, or any field in the section brings up the Shipment Information Editor. This information has to be completed once per shipment. Shipments that have be prepared in Shipper for submission to WAWF will already have this section completed. Conversely, completing this section makes it available to Shipper for WAWF submission.
 Container Details
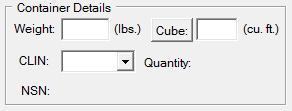
The first thing to do is complete the Container Details, which describes how big the container is and what is inside.
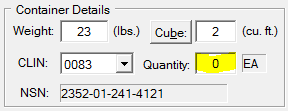
Cube - the container volume in cubic feet, rounded up the next whole cubic foot. You can use the [ Cube ] button will bring up a calculator to simplify calculating the volume. The CLIN pull down menu provides a list of the CLINs already defined for the shipment, which can be used to describe the container's contents. Select one of those, or select one of the other options in the list: Multi - indicating that the container is a multi-pack. None - puts "No Line Item Info" into the MSL PDF417 symbol. New - which brings up the CLIN Editor to create a new CLIN, which is added to the shipment. Once a CLIN has been selected (or entered), the NSN will be displayed for confirmation, and the Quantity field will be opened up to receive the quantity of the CLIN in each container. |
 Set Piece Numbers
 MSL Piece Number When multiple containers are sent for the same shipment the MSL must be marked so that automated systems can differentiate between the them. Labeling uses the Mil-Std-129 prescribed method of incrementing the piece number and its barcode. Another approach is to increment the TCN, which Labeling supports for VSM Automation shipments. The illustration shows the Piece Number barcode on an MSL label. The barcode itself states "2 of 3".
|
 Printing the Labels
The final task before printing MSLs is to select the type desired: •Standard / Plain MSL •RFID-enabled MSL •DD Form 1387 The default label stock for each format will be selected automatically, and the label job directed to the assigned printer. Selecting the 2D Data Dump option will cause Labeling to print the first label in the job along with a breakdown of the data structure in the 2D PDF417 symbol. Click [ Print ] when you are ready. You will have a chance to send the labels to the print queue (SPOOLer). After that, if the printer assigned to the format is a standard Windows printer, you will be sent to the Windows Print Dialog to confirm the print job or select a different printer. |
 RFID Container Level
For contracts that require RFID, palletized unit loads will have an RFID on each Case (exterior container) and one on the Pallet. This setting controls how the RFID will be encoded. Use of the MSL for RFID is allowed by Mil-Std-129, however, it is better to use the exterior container label instead. Labeling will automatically create Pallet-tagged labels as it prints the Cases, aggregating the Cases onto Pallets and collecting any UID data involved. The resulting data set is capable of being submitted to WAWF as part of an EDI Receiving Report or Pack Update. Read more about WAWF Automation. |
This section allows for manual assignment of the RFID that is printed/encoded onto a label. The feature is used only in extremely rare circumstances. Mil-Pac recommends consultation with Technical Support before use. |


