The best way to learn about software is often just to use it. So let's walk through creating unit and exterior container labels for a shipment line item (CLIN). We will skip over many of the available features, and just create a simple label.
By now you have already logged in, and are looking at an empty shipment. Labeling has two operational modes, and since our tour is of the Advanced Mode, make sure your software is running in that mode. It should look like the illustration at right. If not, use Tools > Options > Operational Mode > Advanced to get it there.
 Step 1. Add a Line Item (CLIN)
 Minimal CLIN Information The first step is to click [ Add ], then enter a CLIN, such as "0001". Then fill in the fields as shown at right. There are a few things to keep in mind: •The NSN should be of the form: nnnn-nn-nnn-nnnn. •The Noun may include lowercase - it will be printed in uppercase. •Enter 12 for the quantity (will use it later) •[ Date ] is an easy way to enter the ship date, which should be in the form: MM/DD. We have skipped over some of the fields, not used some features, all of which is explained in Advanced Mode. |
 Step 2: Create Unit Labels
|
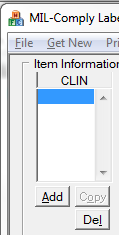
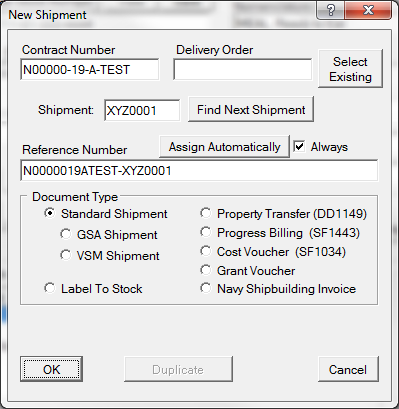
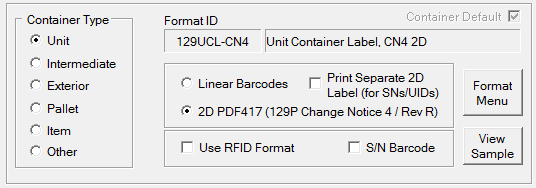
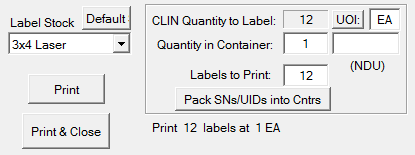
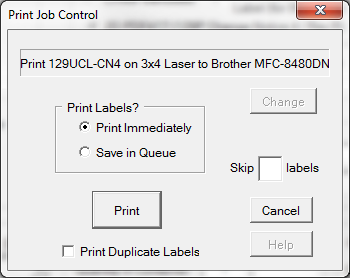
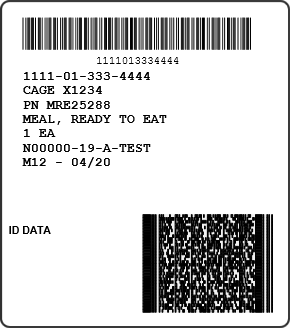
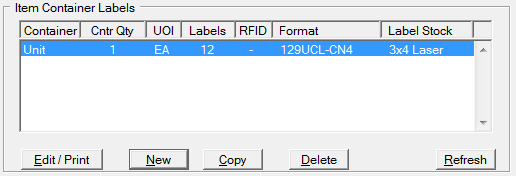
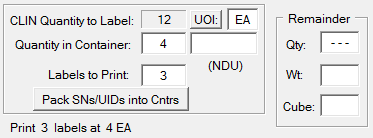
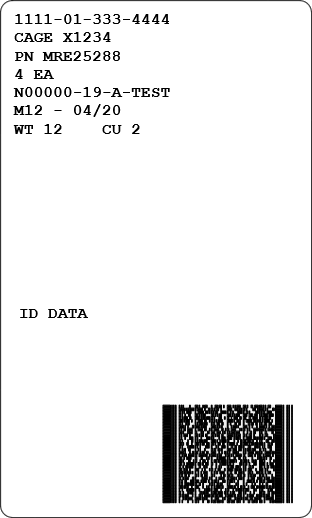
In this step we will create 12 unit container labels, one for each item. Start in the Item Container Labels section at the bottom of the view, and do the following: •Click [ New ] to create a new set of labels. •Because this is the first time we needed the contract and shipment numbers, the New Shipment dialog will pop up. oEnter a Contract Number that looks like N00555-18-A-TEST. oEnter a Shipment Number that looks like XYZ0001, and the <Tab> key. oThe Reference Number will be created, if not click [ Assign Automatically ]. More about Reference Numbers later on. oThe Document Type should default to Standard Shipment, which is fine for this. oClick [ Ok ] to move on. At this point the Container Label Printing dialog will pop up. The top portion of it allows you to select from default label formats by their features and intended packaging level. It will likely already have Unit selected as the Container Type. Next, select 2D PDF417 as the desired feature. This should cause the 129UCL-CN4 (Unit Container with 2D Symbol, which was introduced by Rev P, Change Notice 4) format to appear as the Format ID. If not, be sure the Container Level is set to Unit. Printing the LabelsThe next thing to do set the number of items in each container, which is probably already done, as shown in the example at right. The Quantity in Container is 1, which means 12 labels will be printed. Finally, check to make sure that Label Stock is 3x4 Laser (or some other size Laser stock). The [ Print ] button will start the process, bringing up the Print Job Control dialog, confirming that the labels should be printed immediately, and showing your default printer as the destination. Ignore the other controls and hit its [ Print ] button (you will get a chance to select the actual printer). Next is the ubiquitous Windows Print Dialog, which will allow you to select the printer you want to use. You can also use a PDF writer or OneNote or something else to see the labels. The result will be something like the label at right.
When done, click [ Save & Close ] to return to the Line Item view. |
 Step 3: Create Exterior Container Labels
|
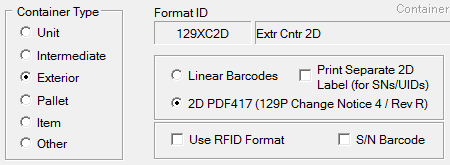
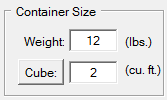
Creating the exterior container labels is slightly easier than creating the unit labels because the contract and shipment number have already been entered. For shipments that do not require unit labels you would just skip Step 2. Select the Format1.Start in the Main View by selecting [ New ] in the Item Container Labels section. The Container Label Printing dialog will pop up. 2.Select Exterior for the Container Type. 3.Select 2D PDF417 as the desired feature. 4.This should cause the 129XC2D (Exterior Container with 2D Symbol) format to appear as the Format ID. If not, be sure the Container Level is set to Exterior. |
Other Features
Our quick tour of container label creation does not address creation of the Military Shipment Label. It also skipped over a lot of features that come into play in the course of defense contract shipments. Here are links covering some of those feature.
